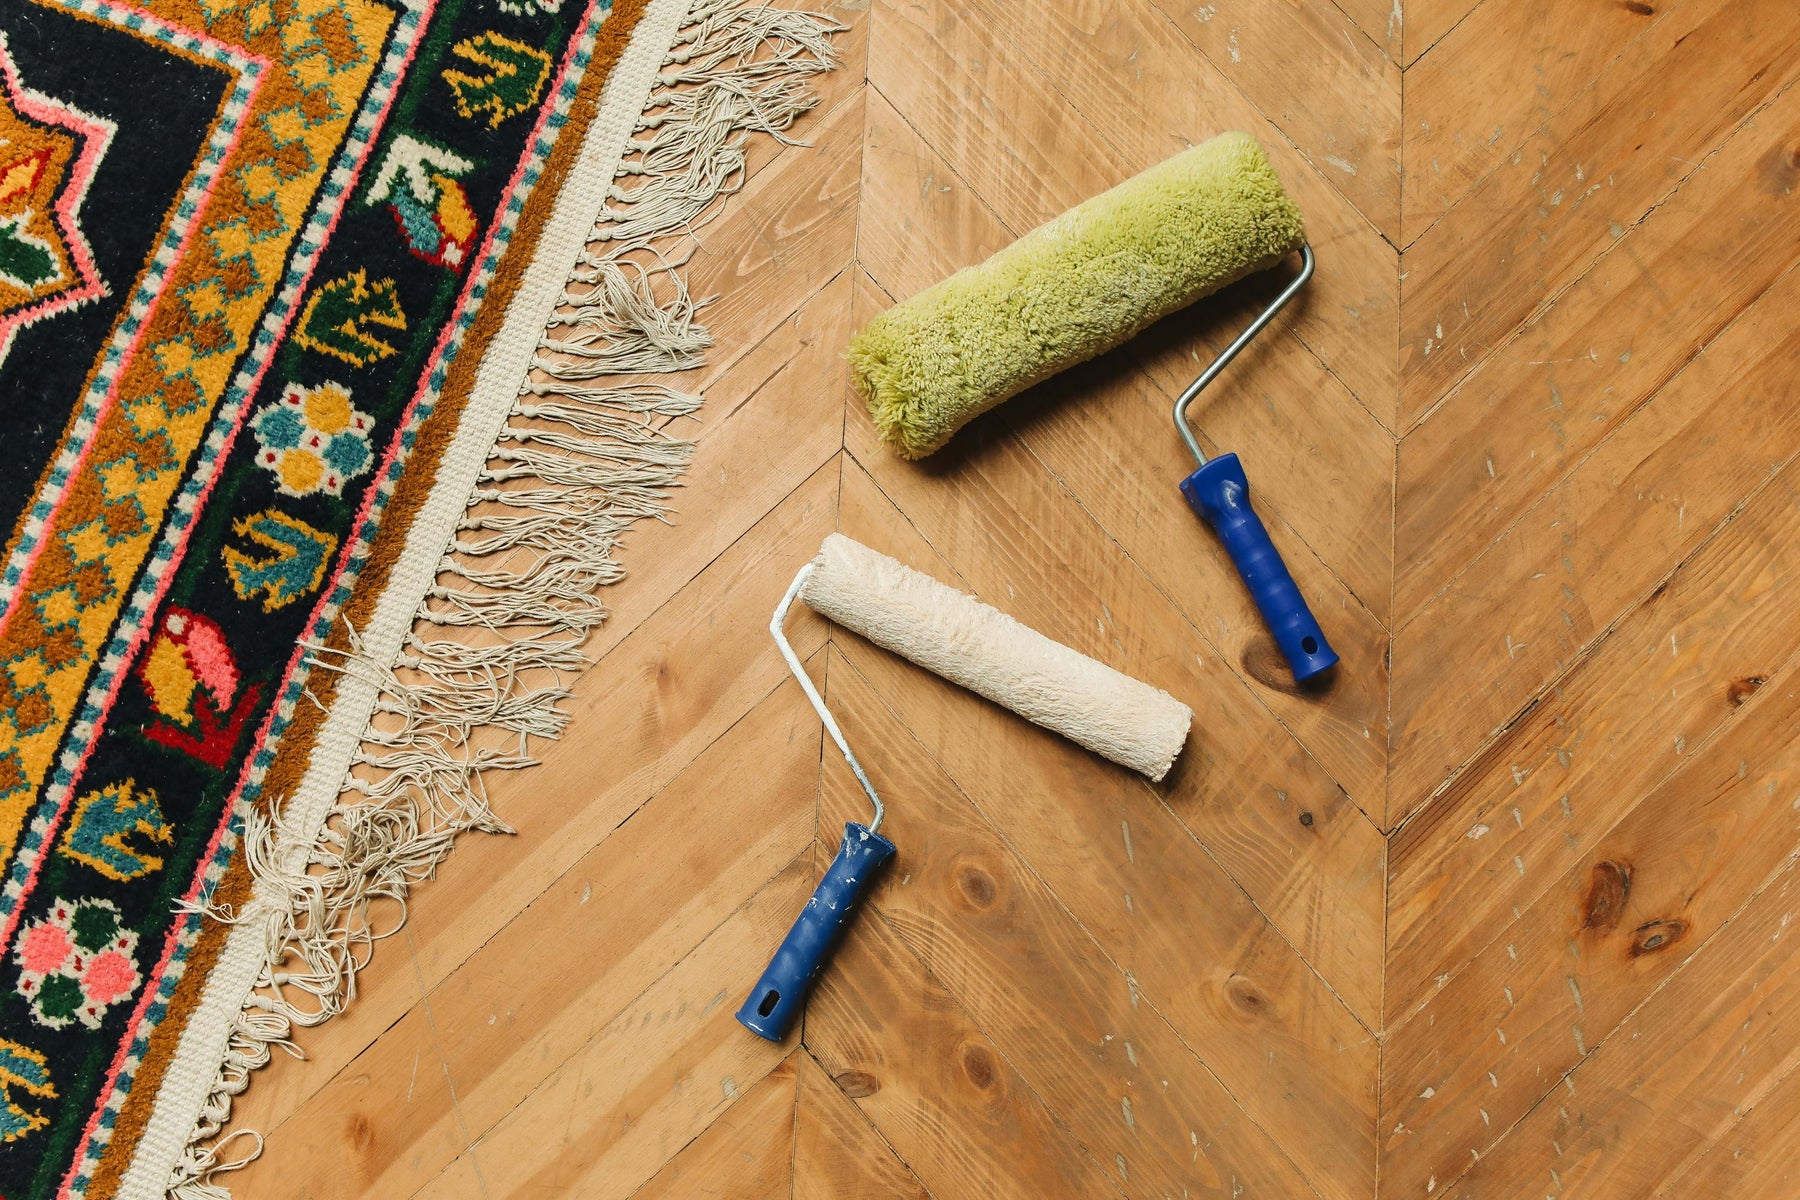

Your DIY Guide to Creating Your Herringbone Pattern
Installing a herringbone pattern for your flooring can be daunting. It is not as easy as a simple plank pattern but that feeling you get when you have completed a hard task by yourself is much more rewarding.
At Newland Floors and Doors, we want to make this process simple and hassle free which is why our herringbone range also comes with Tongue and Groove Joints (T&G). This simplifies the installation process as they keep the planks aligned, and their interlocking nature adds stability - reducing those pesky gaps between planks.
If you are up for the challenge of doing this yourself, then this guide will help you through the process.
Planning, Preparation and Perspiration
To start with we need to plan our flooring design. Make sure you measure the room to determine how much flooring you will need. When buying herringbone flooring, we make sure to include a calculator during the buying process so you can figure this part out with ease.
We recommend you account for waste and the accidental ‘oopsie’ by adding an extra 10% to your total measurement.
If you are using solid hardwood or engineered wood flooring, you must let the planks acclimate to the room's temperature and humidity for at least 48 hours before you start on your installation.
Whilst you are waiting for your flooring to acclimate, it is a great idea to make sure your subfloor is clean, dry and level. Any imperfections will affect your final result so make sure you prepare the best you can.
And prepare for the perspiration you will encounter with your hard work in this project. If you are doing this in the summer months, we suggest you keep a fan on hand!
Make Sense of Your Flooring Puzzle
Find the centre of your room to help keep your herringbone pattern symmetrical and centred. You can then use your trusty chalk and laser level to map out the herringbone pattern to create your layout plan.
We suggest you dry fit the plans before committing to using adhesive or nailing down your planks to make sure they fit your space the way you would like them to.
Now Comes the Fun Part
Installing Your Herringbone Flooring
-
Like you did in your layout plan, start from the centre.
-
If you are applying adhesive, apply this in small sections so you can prevent it from drying before you can place your planks. Our flooring includes manufacturer's instructions so double check for the best results.
-
Lay down each plank carefully to your layout lines and press down firmly to make sure there is a good bond with your adhesive.
-
Throughout this, it is a good idea to check the alignment of your planks with a level or straightedge to make sure your pattern stays consistent.
- Now as you reach the edges of your room, you will need to cut the planks to fit. Use a suitable saw for your flooring material and measure very carefully for a precise fit. This will be where you are glad you ordered the extra 10%.
Add Some Finishing Touches
Check you have let the adhesive cure before walking on your brand new floors. It is best to check the manufacturer's instructions as every flooring has different timeframes.
Once your flooring is fully set, we recommend installing skirting boards to cover any expansion gaps. We stock Solid Oak Skirting boards by Woodpecker which will pair perfectly with your Woodpecker Oak Herringbone Flooring.
If installing your new herringbone flooring was enough for you, we also offer paintable skirting board covers. Giving you a lot less hassle but a clean and polished new look for your home.
Feeling adventurous with your herringbone design skills? You could also add some design strips to your pattern.
And finally, clean and maintain your floors so they can last a lifetime!
For more expert advice on your new flooring or even commercial space, contact us today and we can help you create the perfect home.

